- Published on
Build Your Personal Blog in One Hour - Domain Setup Guide
- Authors
In the previous article, we successfully deployed our blog. However, the default xxx.vercel.app URL isn't very professional. This article will show you how to set up your custom domain.
Prerequisites
- Completed the Vercel setup steps
- Namecheap account
- Cloudflare account
- Credit card (for domain purchase)
Purchase a Domain on Namecheap
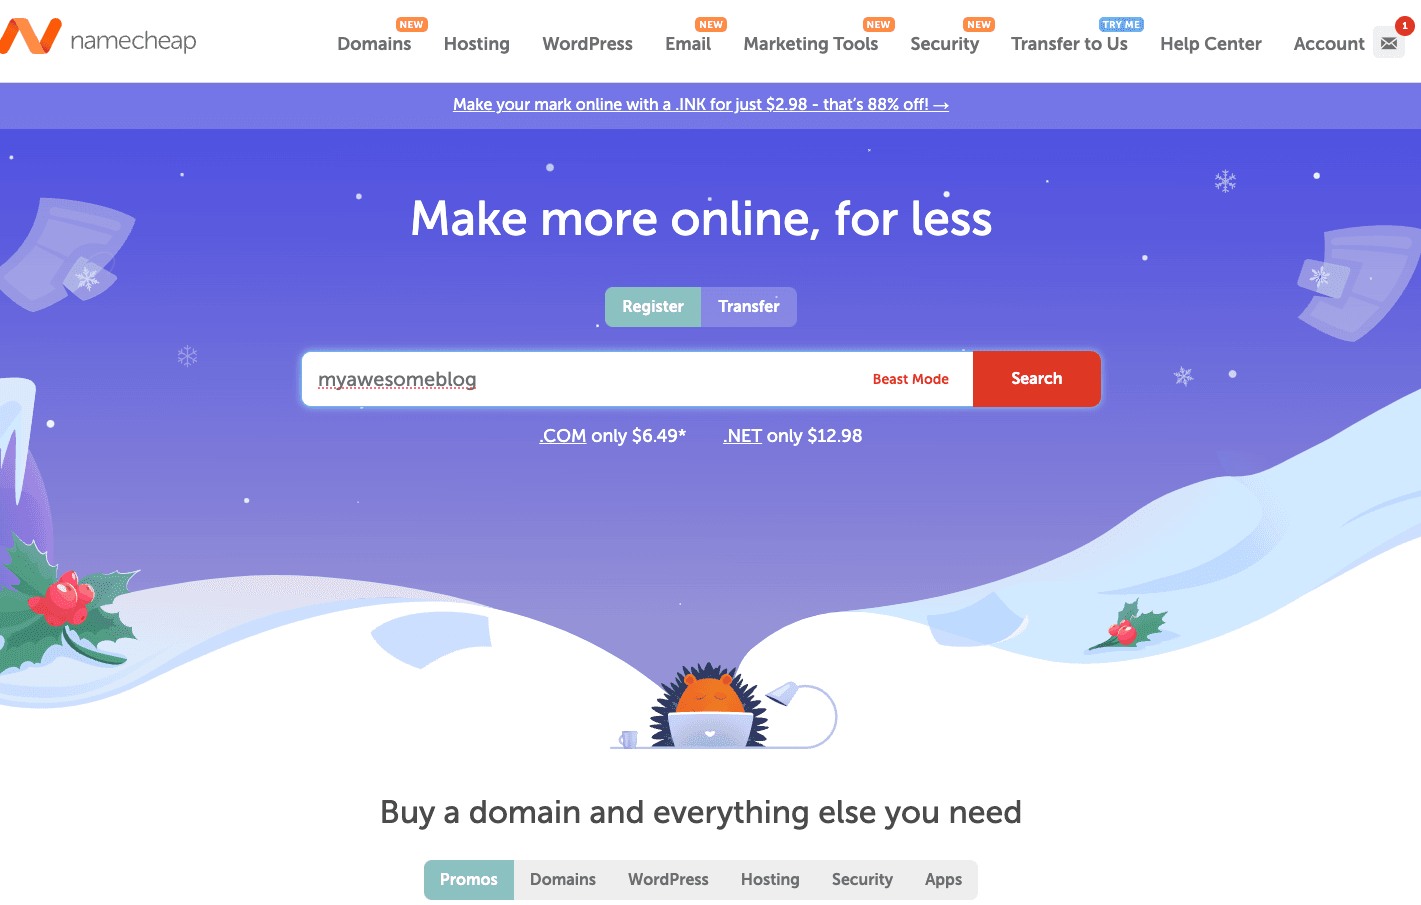
- Register an account at Namecheap
- Enter your desired domain name in the search bar (e.g., myawesomeblog.com)
- Add your chosen domain to cart and complete the payment process
- After payment, verify that your domain status is Active in the Domain List. If not, follow the verification instructions (such as email verification).

Cloudflare Configuration
- Sign up for a Cloudflare account
- Click "Add a Site" and enter your domain name

- Select the Free Plan

- Remove all automatically detected DNS records (we'll set them up again)

- Modify DNS settings in Namecheap:
- Log into your Namecheap dashboard
- Find your domain → Domain List → Manage
- Select "Custom DNS" under Nameservers
- Enter the nameservers provided by Cloudflare (e.g.,
cass.ns.cloudflare.comandwilson.ns.cloudflare.com)
Vercel Configuration
- Log into your Vercel dashboard and select your project
- Go to "Settings" → "Domains"
- Enter your domain name (e.g., myawesomeblog.com) and configure the redirect settings as needed

- Add the records provided by Vercel to your Cloudflare DNS settings:
- Turn off the "Proxy" feature
- Set TTL to "Auto"


- Vercel will automatically verify your DNS configuration
- Wait a few minutes for the DNS records to propagate
Conclusion
After completing these steps, you'll be able to access your blog using your custom domain! Now it's time to start building your blog's content!